Video Doorbells: Doorbird Install

Doorbird 101S Video Doorbell

In the early 2000s, most large new houses came with a doorbell system that connected to the house wired telephone network — you rang the doorbell and all the wired phones inside rang with a distinctive shortened ring. Answering the phone, you’d be connected to the intercom speaker by the doorbell to talk with the visitor. Often you could then press ‘9’ or some other special key on your phone to activate a relay unlatching the door so the visitor could enter.

House wired telephone networks are obsolete now, and many features (like security system calls to central monitoring) no longer work with VoiP-based phone systems. The latest thing is video entry systems, which let you see the visitor as well as talk with them. This is overkill for a small house, but since video entry systems are now cheap and easy to install, you may want to upgrade to one.

Old box for doorbell-intercom
For this project, there was already a cat5 wire running from the central communications closet to the outside doorbell’s electrical box — only two wires were being used by the intercom for phone protocols, but the cat5 cable was easily repurposed for Ethernet and PoE (Power over Ethernet), so we chose a brand which could use a cat5 hookup, since this promised to be more reliable than the wifi and battery combination used by others. Battery-based wifi systems are very easy to install since no connections are required, but the need to change batteries and the occasional loss of wifi are negatives.

The wifi-battery brands:

Ring Wifi Video Doorbell – Older version, easy to install and operate, sleak design.
Ring Video Doorbell 2 – Market Leader in US, 1080 HD video, new version
Skybell HD Video Doorbell – European, 1080p HD and Zoom

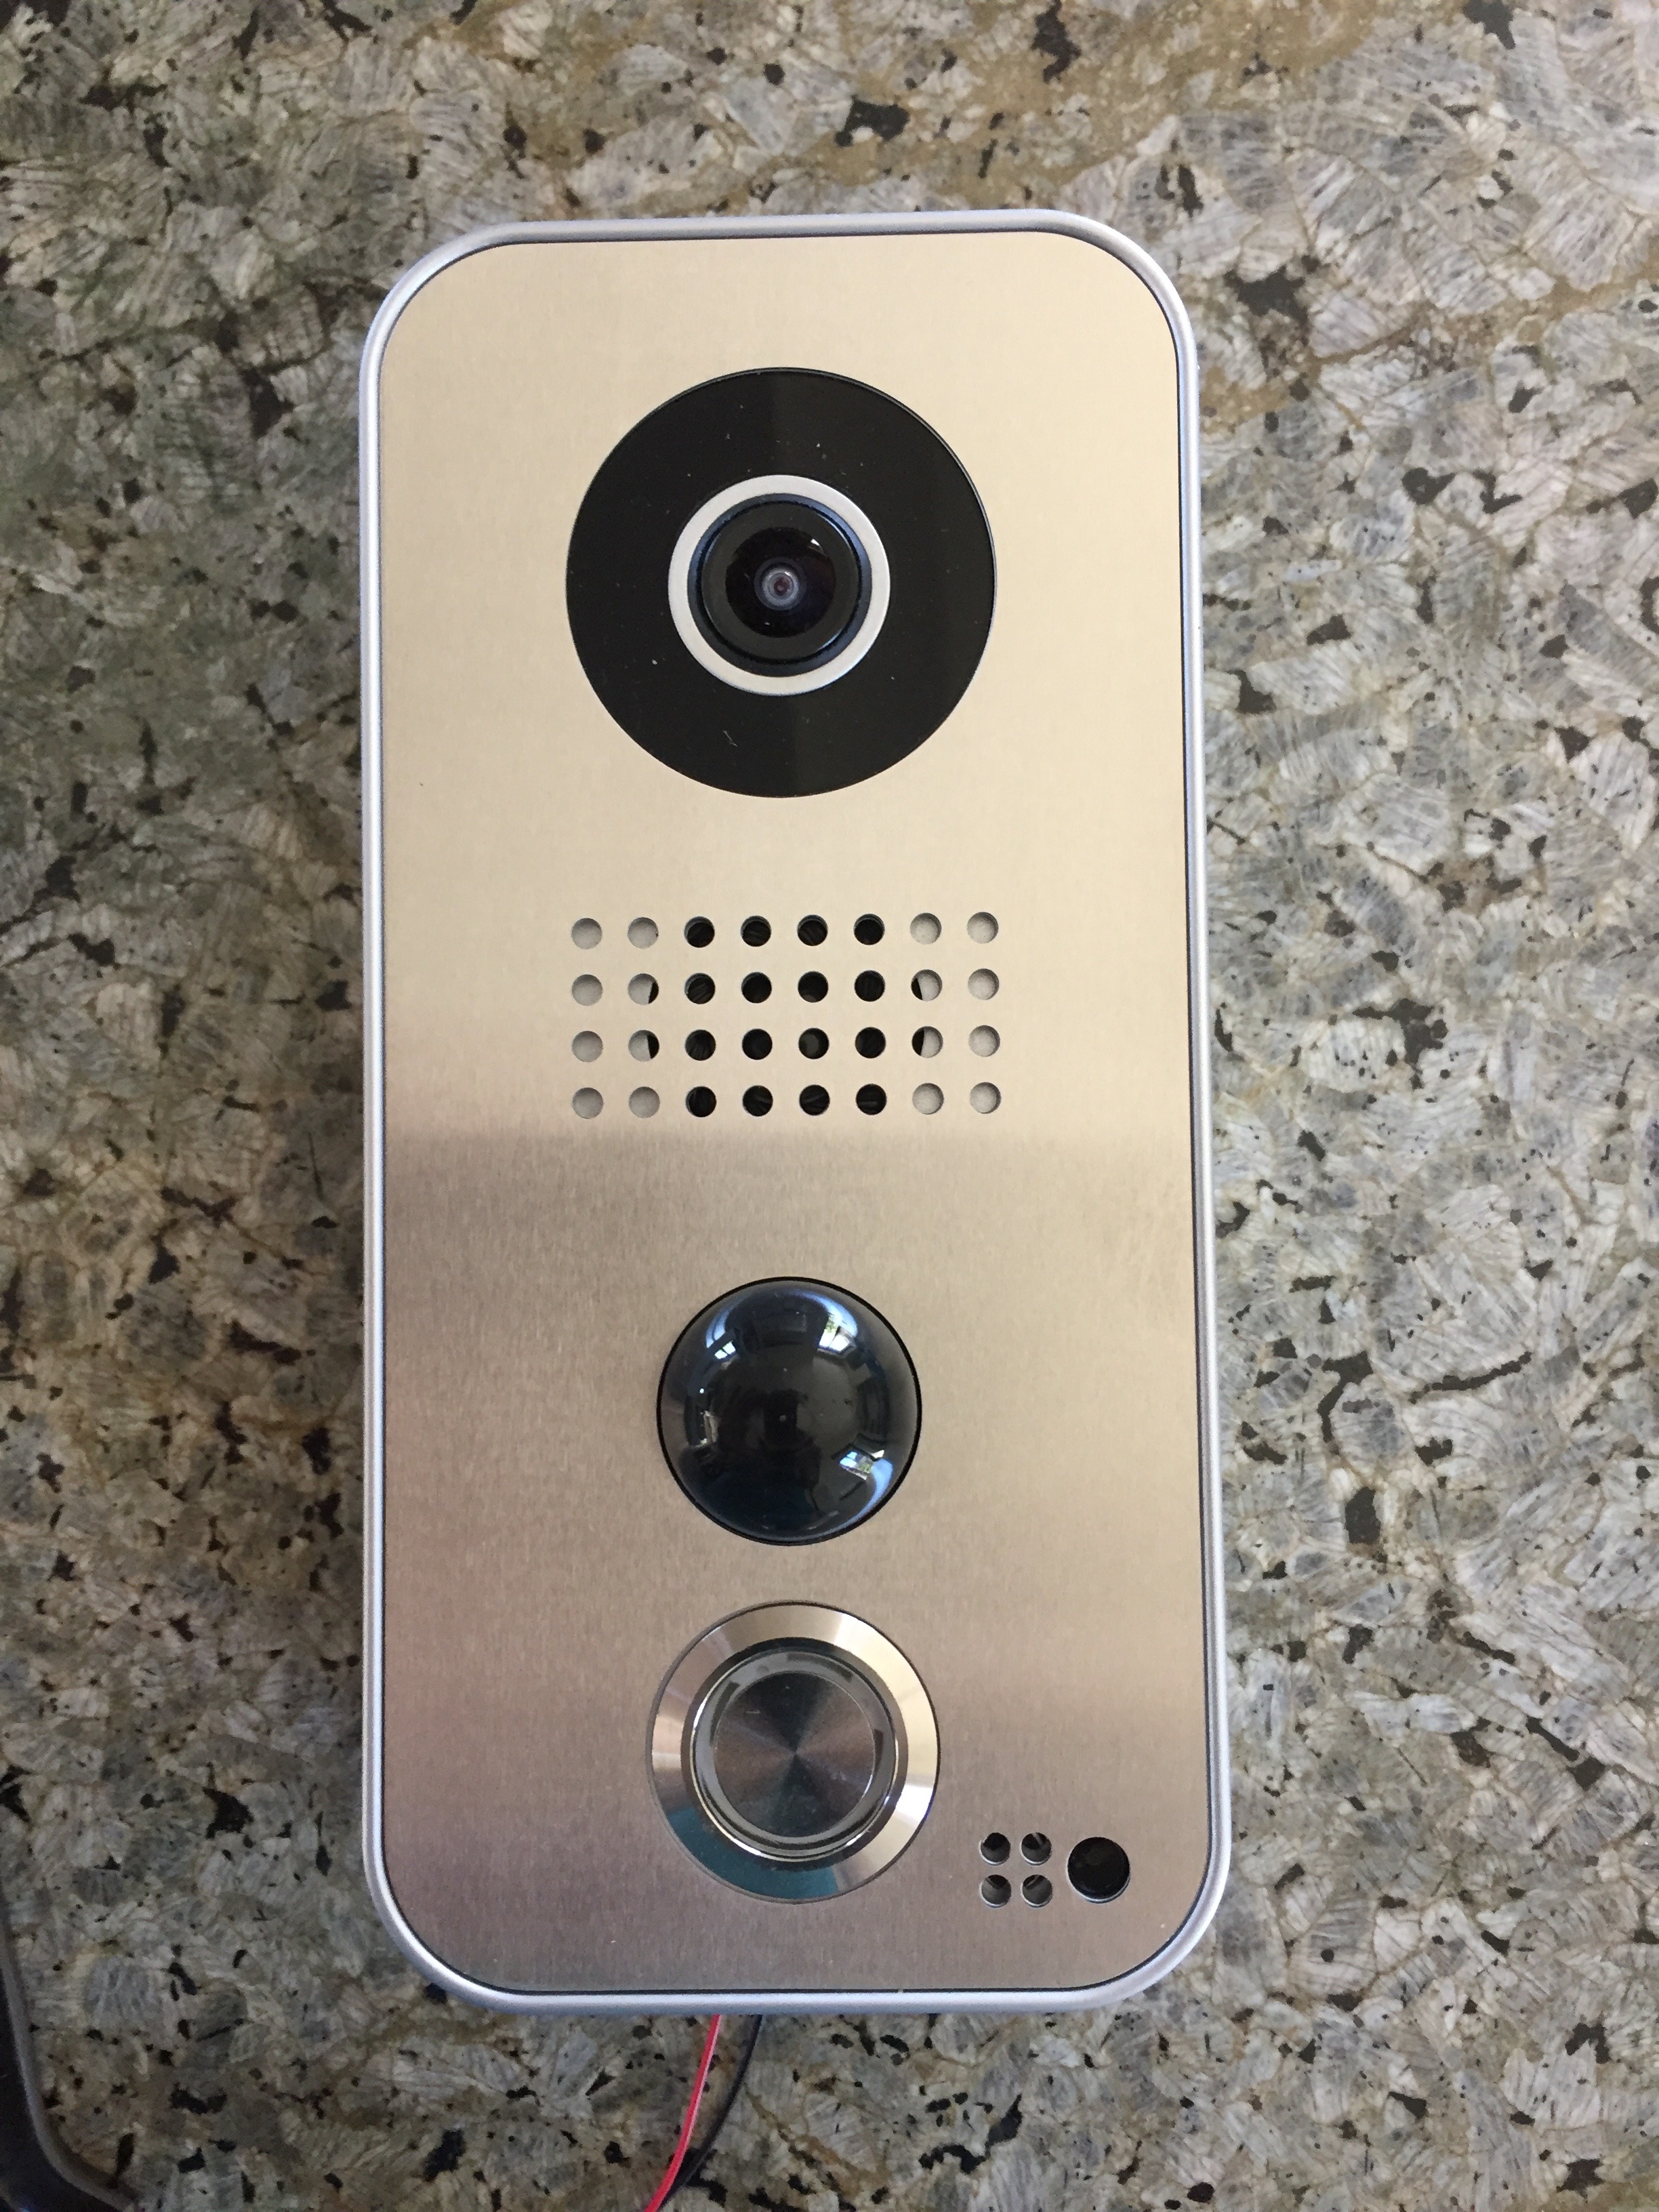
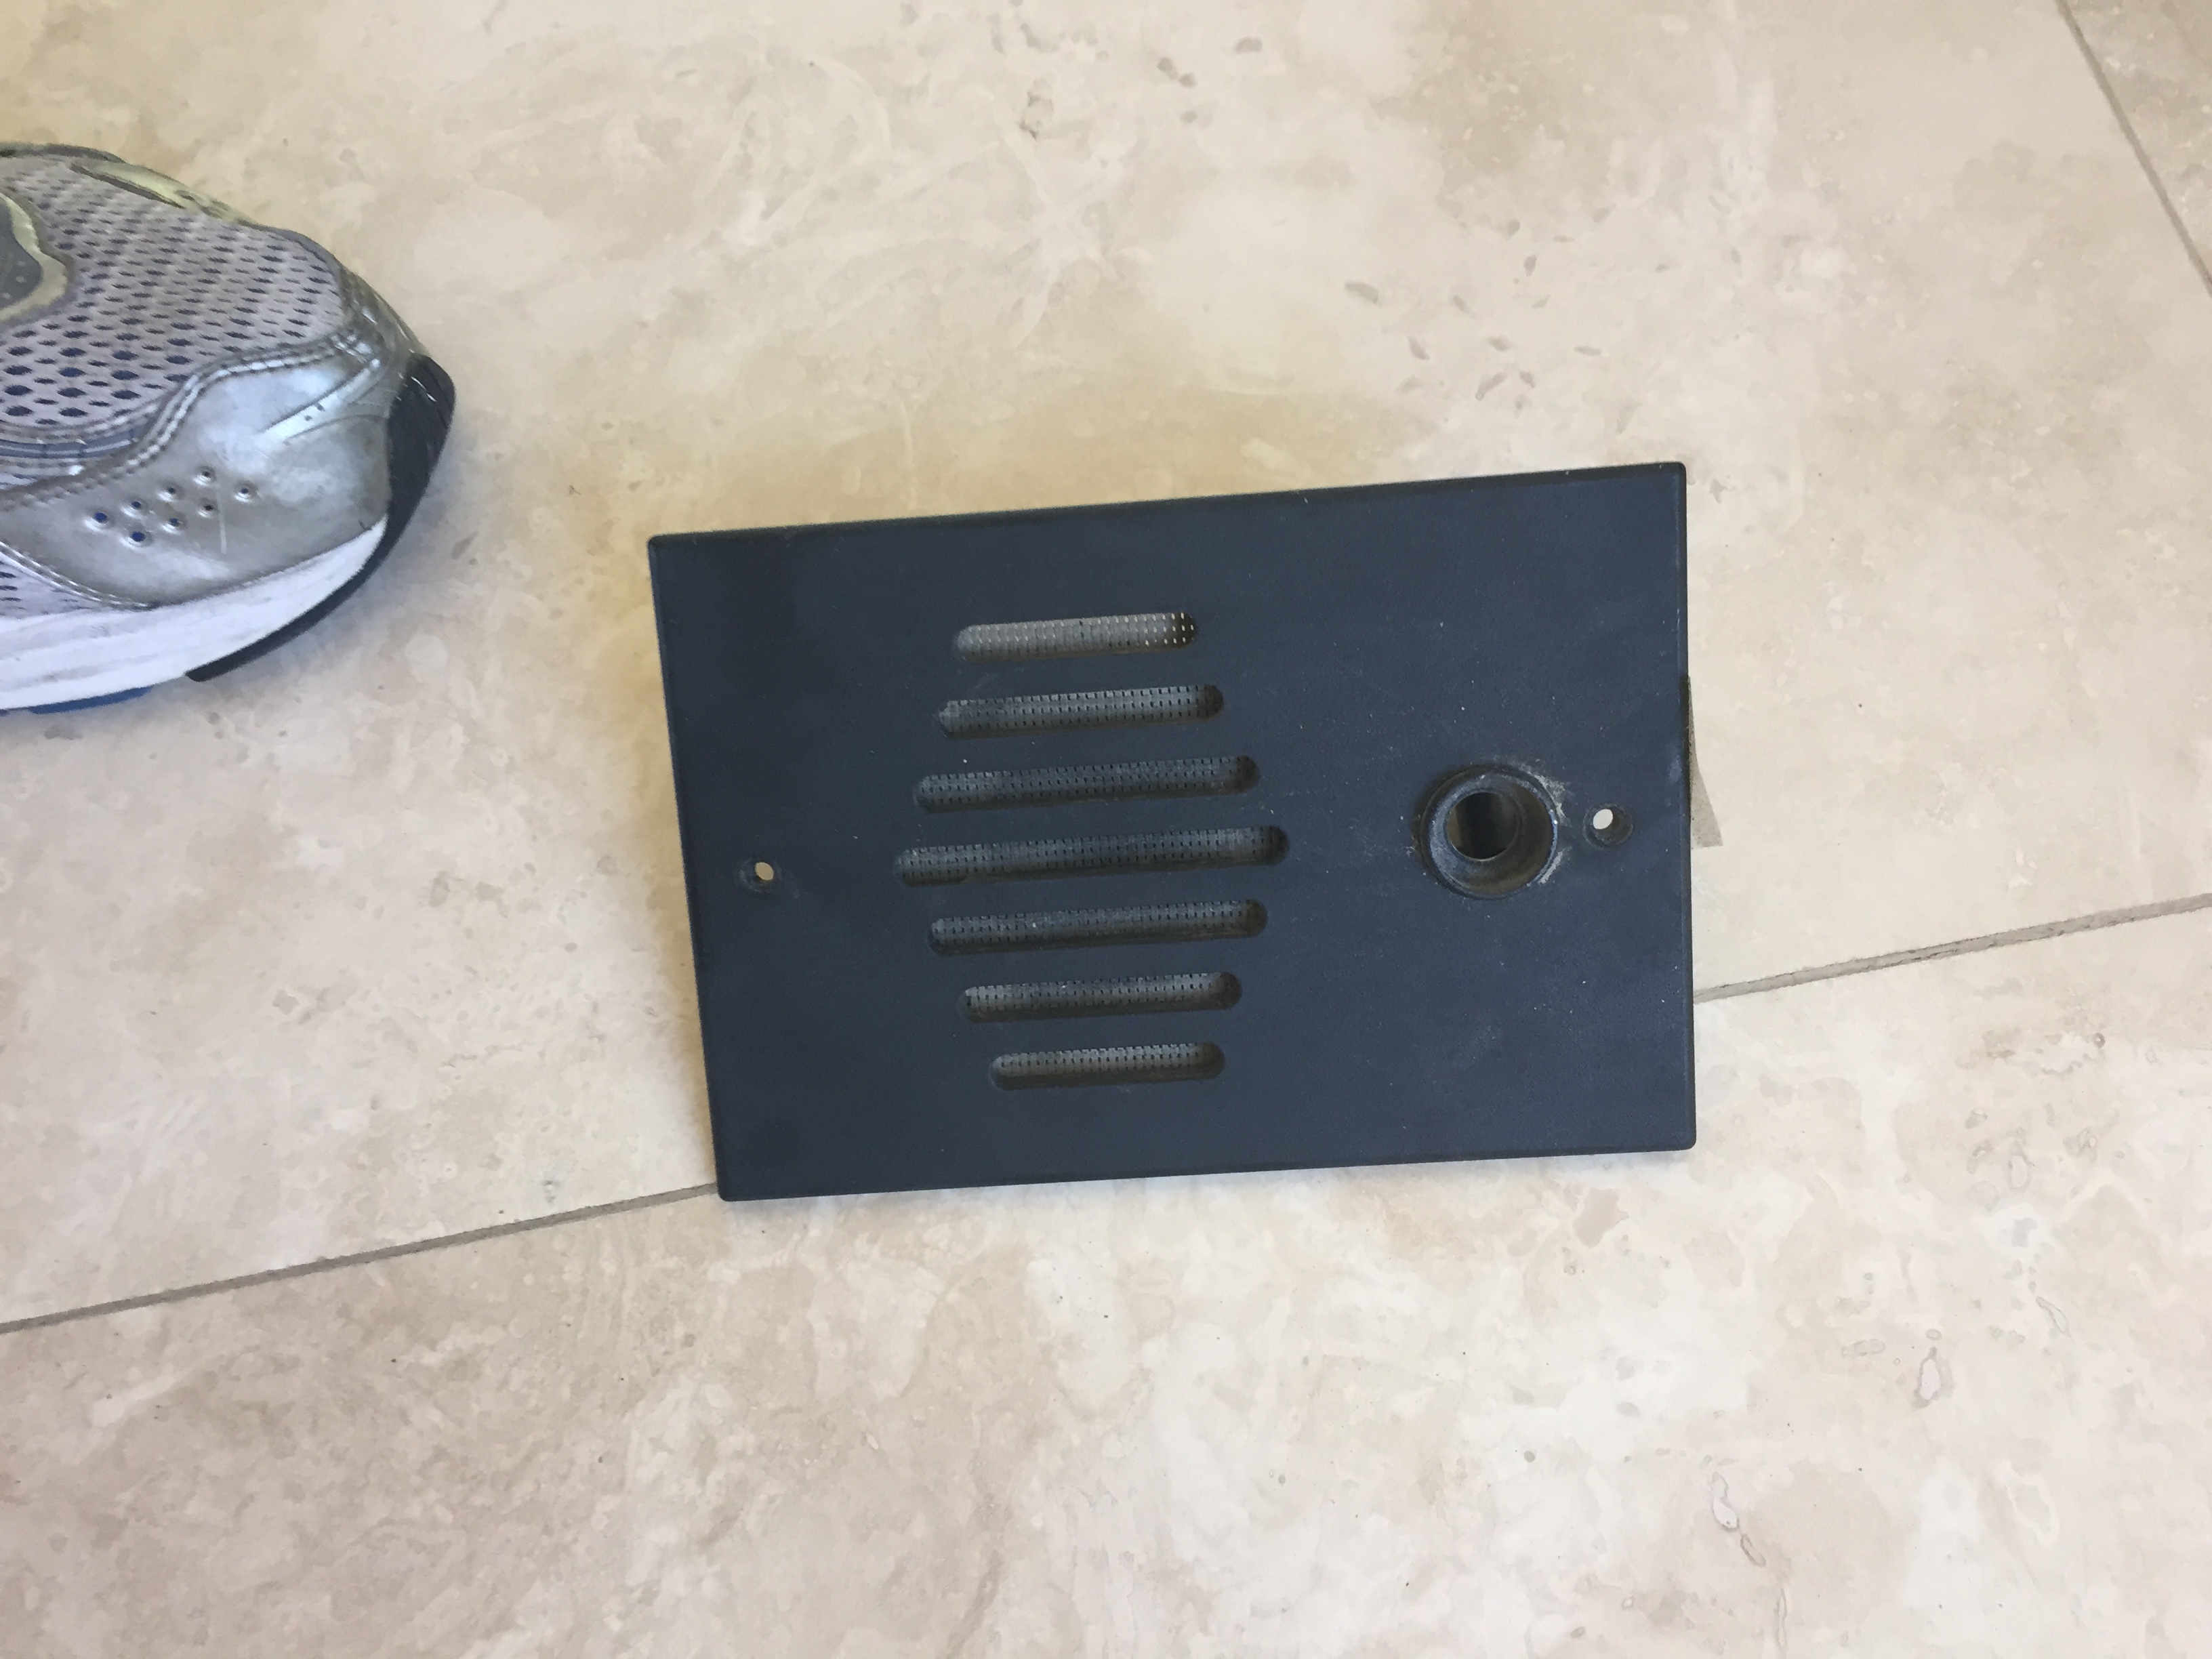
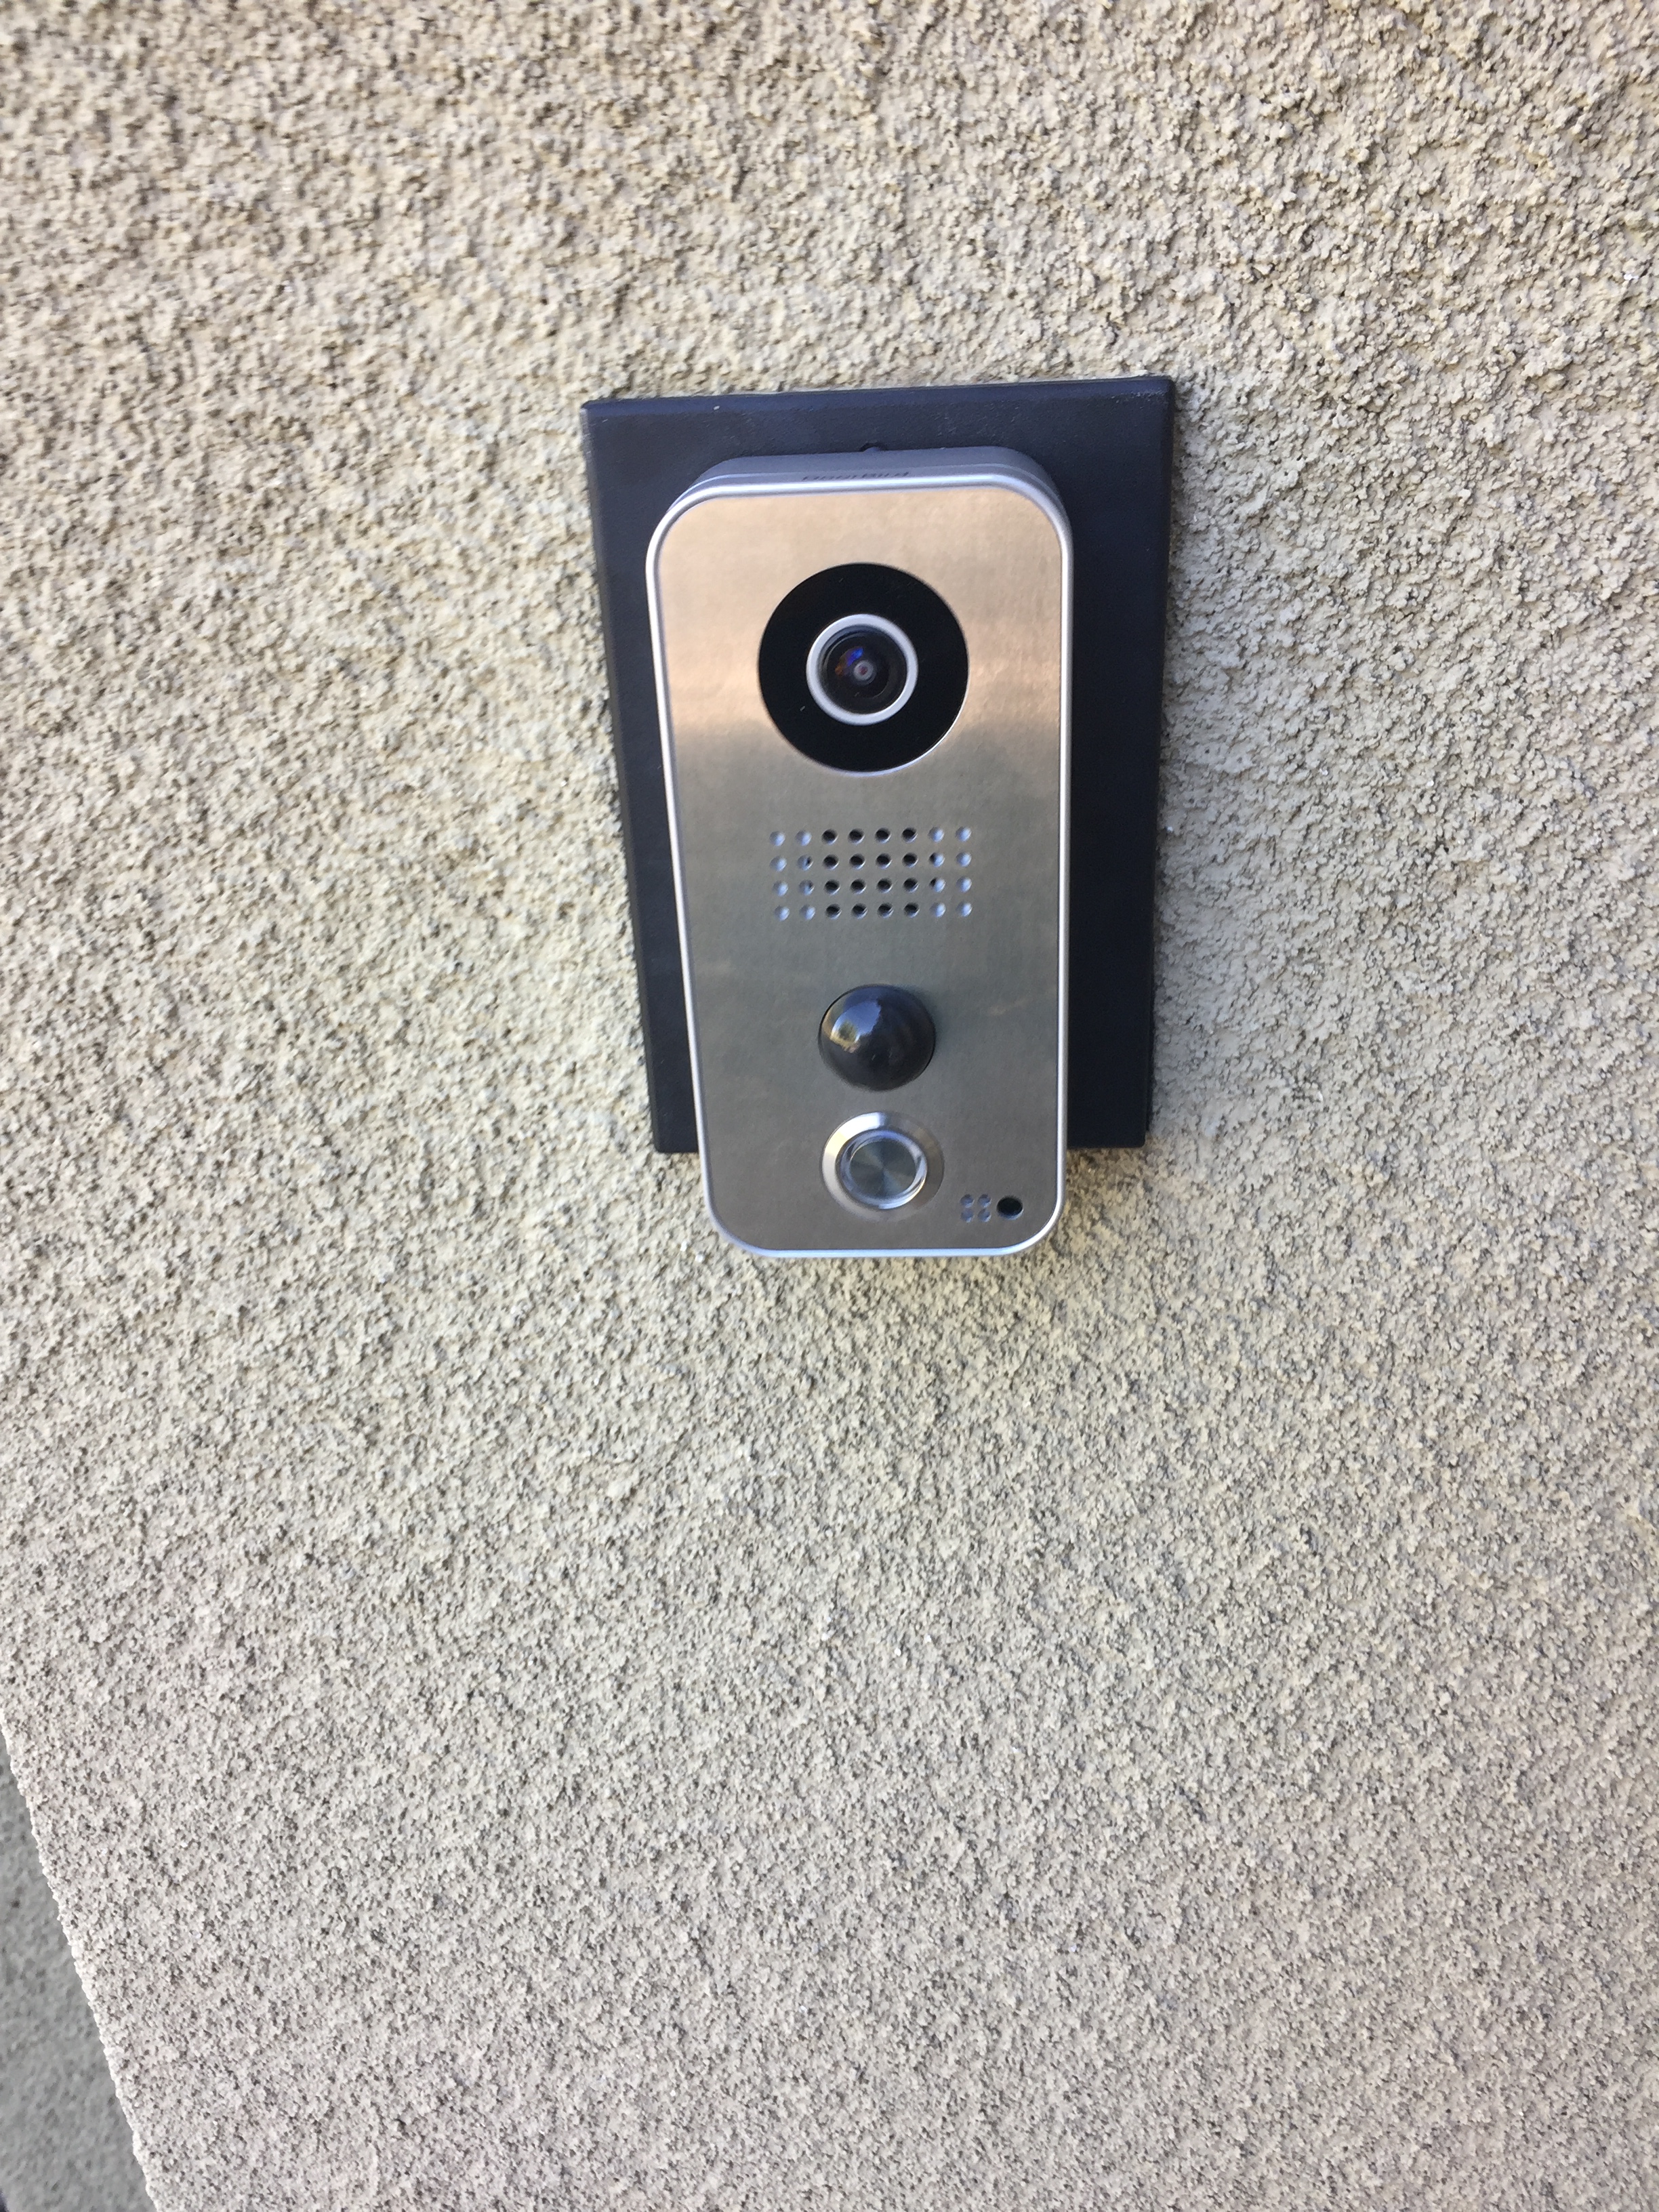
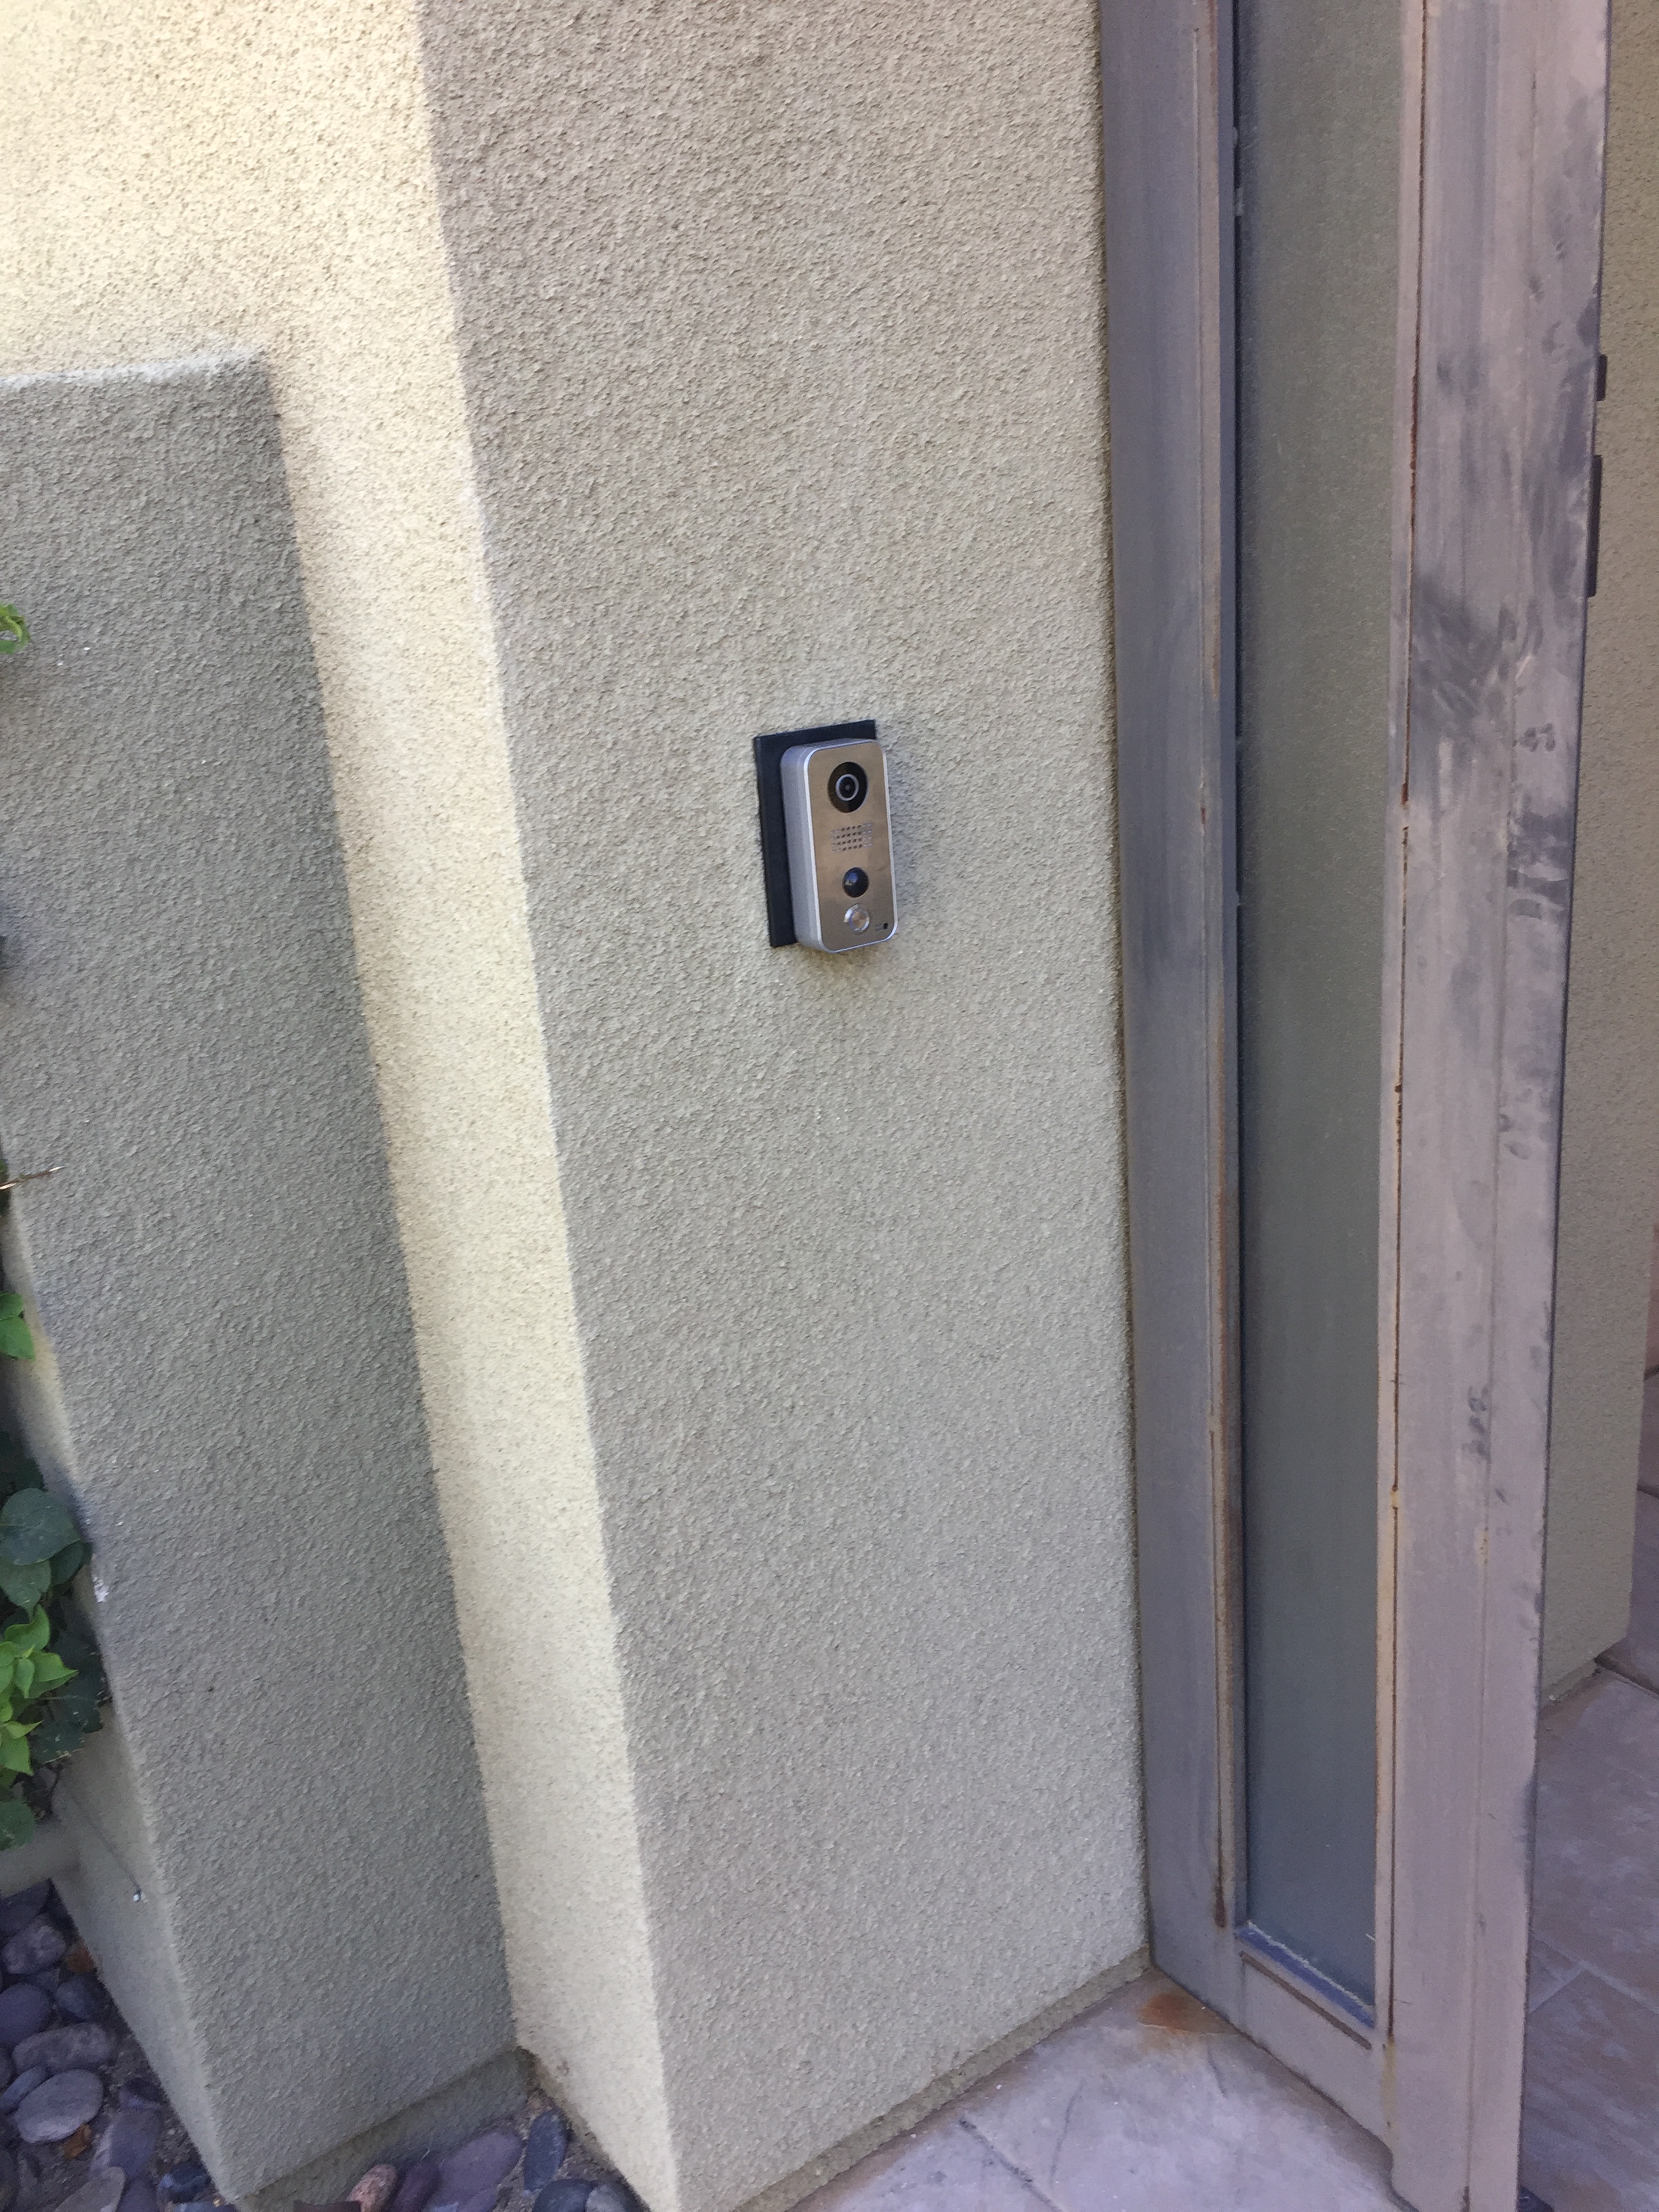
The brand we chose because it supports wired cat5 (as well as wifi):

DoorBird WiFi Video Doorbell D101S – German and very popular in Europe, but expensive. 720p video, IR nightvision viewing
DoorBird WiFi Video Doorbell D202B, Flush Mount – Brushed bronze/stainless and must be mounted inwall, but sleek appearance. Best choice for the most expensive homes where security and quality are paramount.

Doorbird App (iTunes)
All of the above have apps for iPhone and Android phones which allow you to use your phone to answer the door. All support (or will soon support) Apple’s Homekit or the equivalent Android home automation interface. The Doorbirds also have circuits for unlatching doors if you have an electric latch installed. We chose the cheaper Doorbird because the flushmount version, which is superior in appearance and solidity, would have required installing a custom inwall box to hold it, whereas the surface-mount D101S could be attached directly to the old doorbell-intercom beveled steel faceplate, avoiding additional carpentry and stucco work. (The wifi-battery units are easiest of all, of course, because you can mount them anywhere.)

Doorbird Packaging - "Made with Love in Berlin"
Doorbird Packaging
The Doorbird people have borrowed a lot of their design and packaging aesthetic from Apple. As with Apple, you’ve paid a premium price and are rewarded with well-thought-out, sleek design. The printed manual is suitably German, minimalist but informative enough for anyone who’s installed networked appliances.

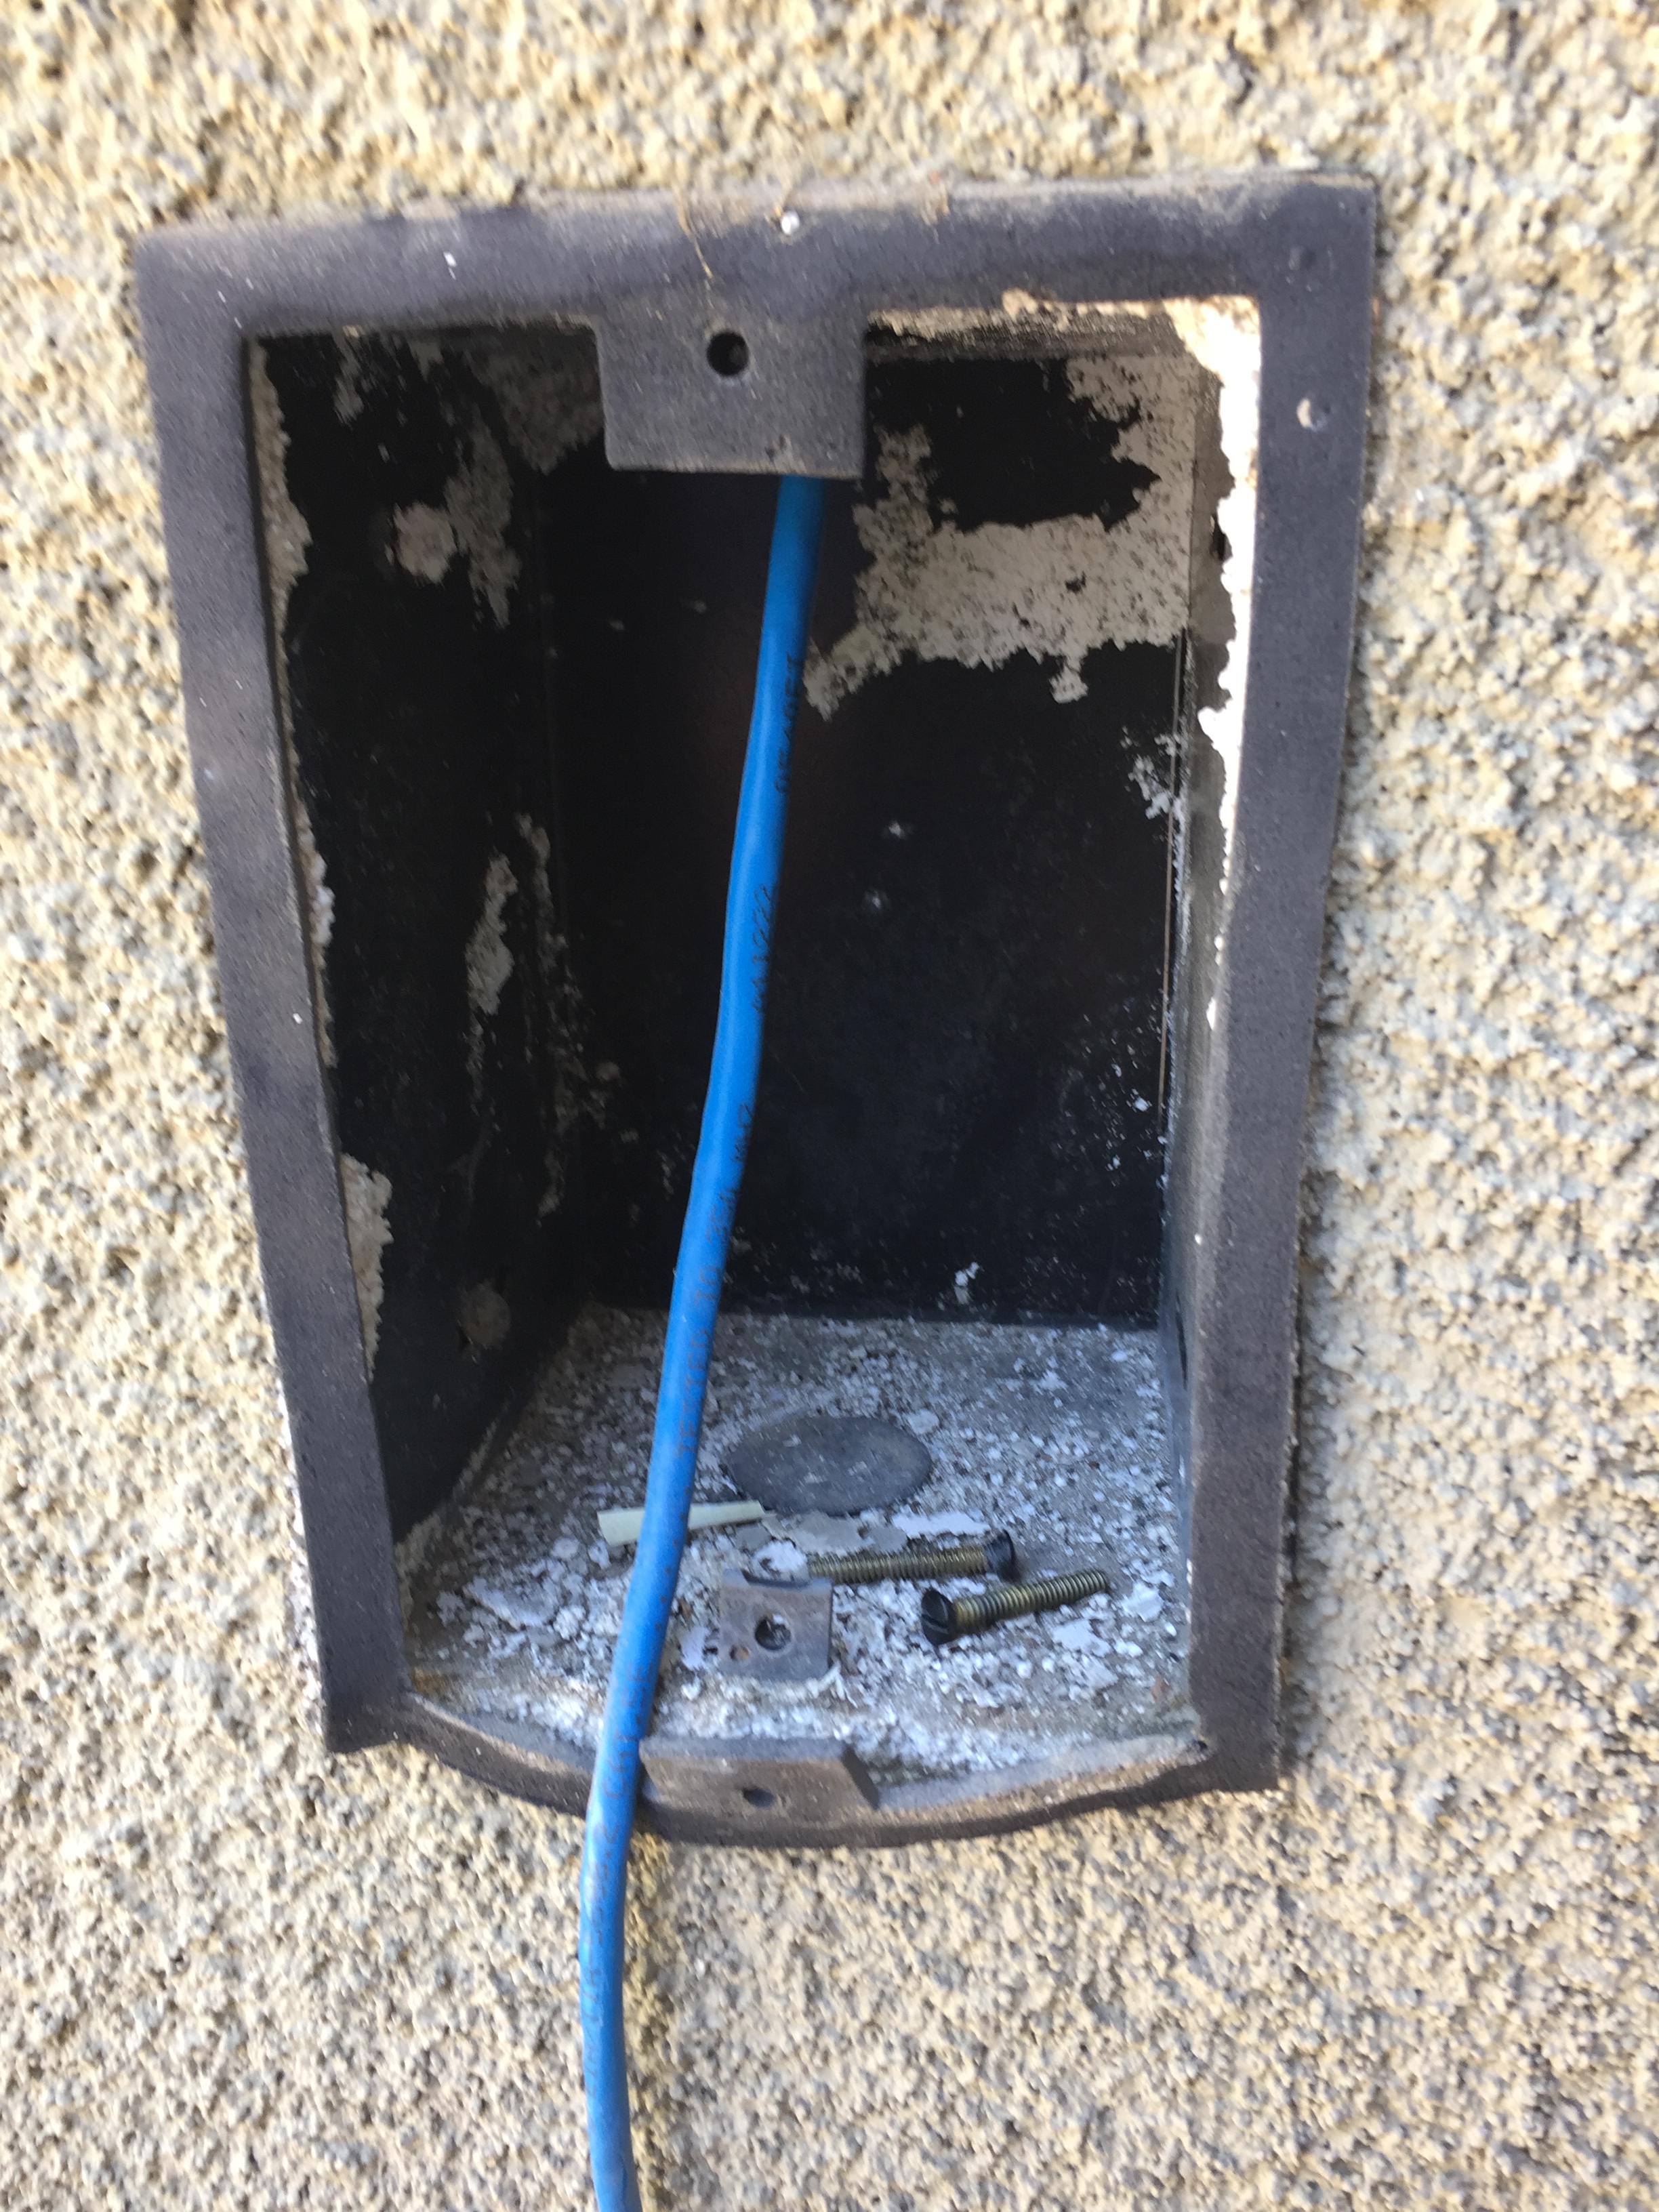
I also purchased a PoE (Power over Erhernet) injector to feed power into the Ethernet cable. This is installed at the cable source in the wiring closet, since normal Ethernet has no power-supplying function. The relatively new PoE standards are intended to cut down on cabling in video surveillance and other situations where network appliances are to be installed in isolated areas. Switches and injectors supplying PoE are easy to find — I chose this one: TP-LINK TL-PoE150S PoE Injector Adapter, IEEE 802.3af compliant.

Doorbird - back
Doorbird – back
The Doorbird wiring is accessed through a back panel, and the box has several adapters to plug whatever wires you are using into the circuit board sockets. the color coding made this fairly easy to figure out.

Old speaker grille
Old speaker grille
I pulled the wiring through the old doorbell-intercom speaker grille to hook up the Doorbird, then screwed the Doorbird mounting screws into it so the Doorbird was centered and covered the speaker grille.

Doorbird Installed
Doorbird Installed

Doorbird installed
Doorbird installed
First Visitor
First Visitor

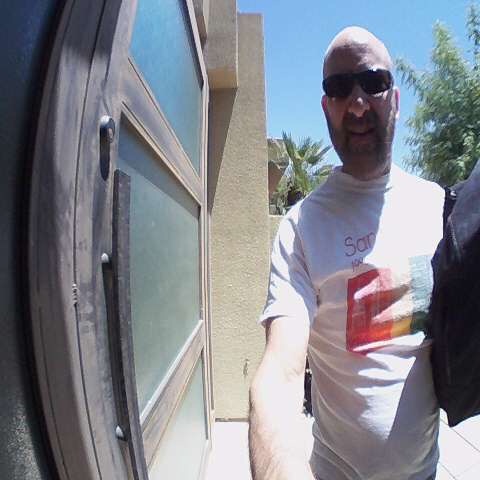
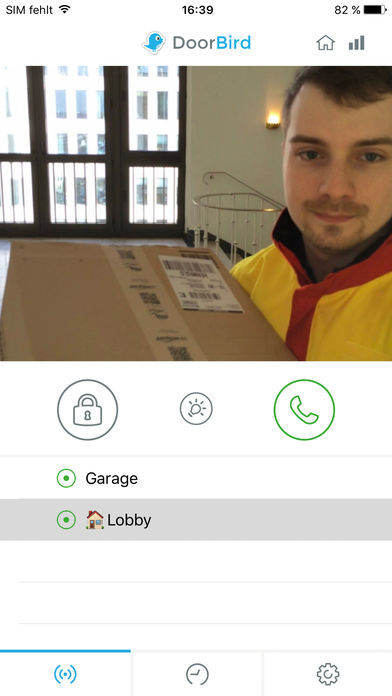
This install went well and returned doorbell functionality. A a side benefit, when the doorbell is rung I get a chirp on my phone wherever I am in the world and can chat up any visitors even while I’m on the road, which is handy. The Doorbird servers keep photos from the last 90 days of visitors, so you can go retrieve them as needed.

Leave a Reply

Fill in your details below or click an icon to log in:

WordPress.com Logo

You are commenting using your WordPress.com account. Log Out /  Change )

Twitter picture

You are commenting using your Twitter account. Log Out /  Change )

Facebook photo

You are commenting using your Facebook account. Log Out /  Change )

Connecting to %s

%d bloggers like this: